Guide for Concrete Slab Foundation
Step-by-Step Guide to Preparing and Pouring a Concrete Slab
Step 1: Site Preparation
Timeline: 1-2 weeks
Clearing the Site:
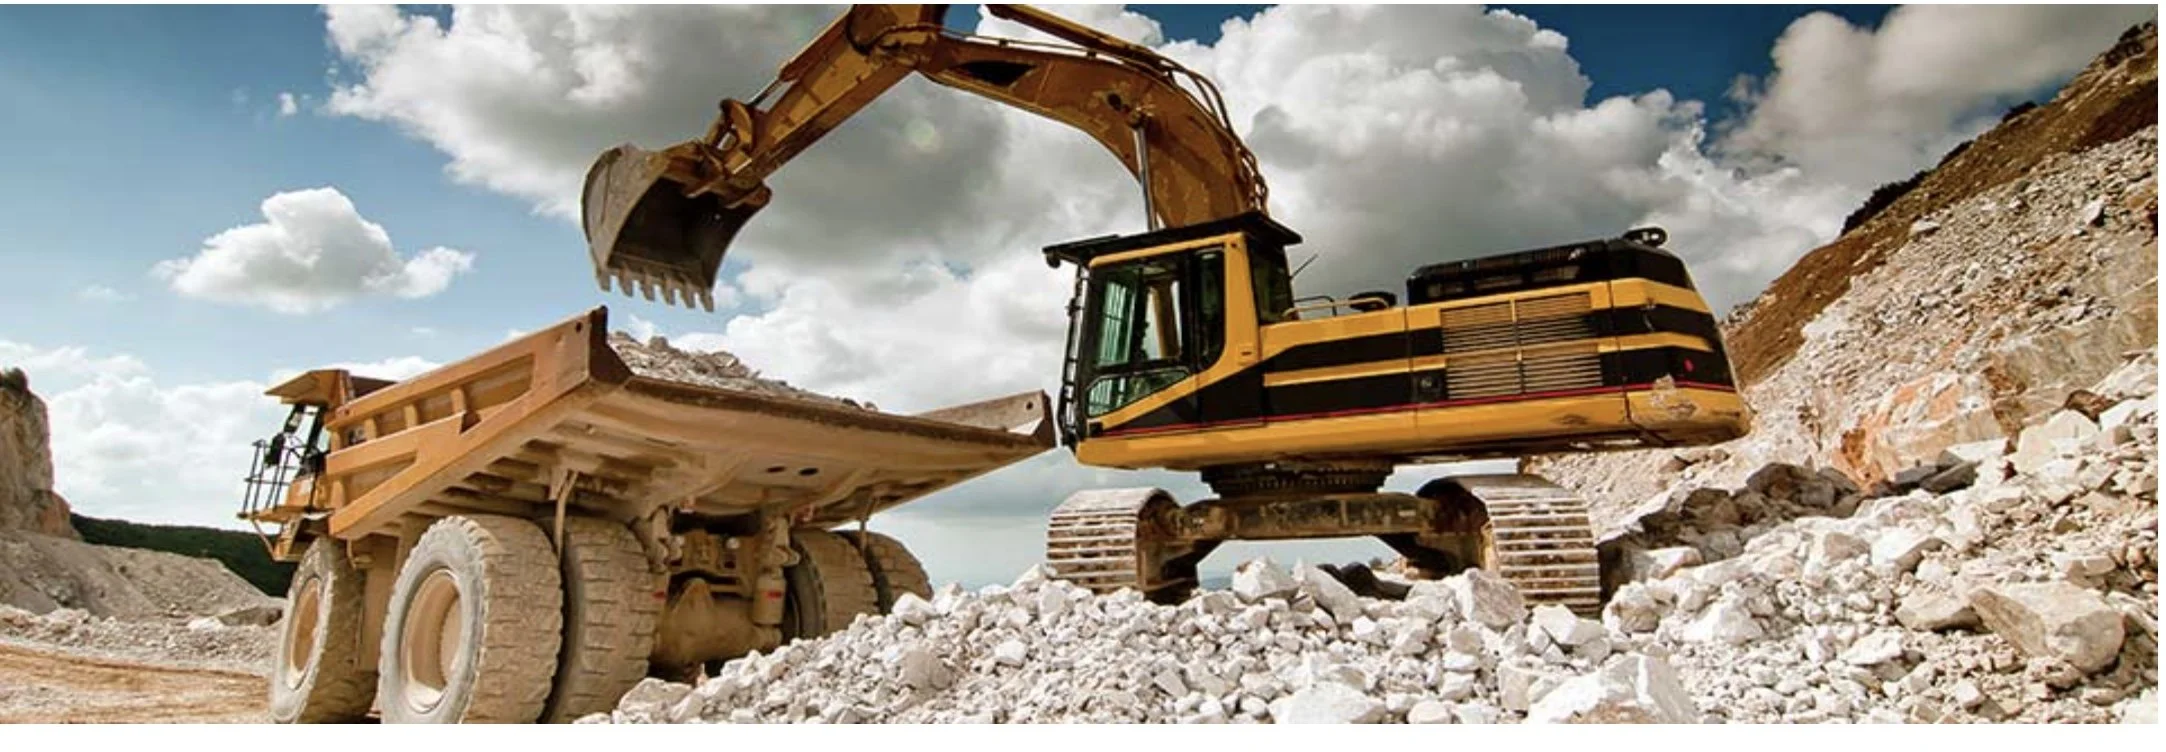
Materials Needed: Heavy machinery (e.g., bulldozers, backhoes), hand tools (shovels, rakes).
What to Be Careful Of: Ensure all debris, rocks, and vegetation are completely removed. If tree roots or large rocks are left behind, they can cause the foundation to shift over time.
Utility Lines: Before beginning site preparation, ensure all underground utility lines (water, gas, electricity) are installed and inspected by the city. Once the foundation is poured, accessing these lines can be very difficult and costly.
City Inspection: Before moving to the next step, a city inspector may need to verify that the site is clear and properly prepared. This inspection typically focuses on ensuring that no utility lines or other critical infrastructure has been damaged or improperly installed.
Potential Issues: The city inspector might reject the preparation if debris remains on site, if the ground isn't properly leveled, or if the base layer (like gravel) isn't correctly laid for drainage.
Step 2: Layout and Excavation
Timeline: 1-2 weeks
Layout the Foundation:
Materials Needed: Stakes, builder’s lines, measuring tape, spray paint (to mark the area).
What to Be Careful Of: Ensure the layout is accurate to the plans. Any mistakes here can lead to costly adjustments later.
City Inspection: Some municipalities require an inspection of the layout to confirm that the foundation size and location adhere to building codes and zoning laws.
Excavation:
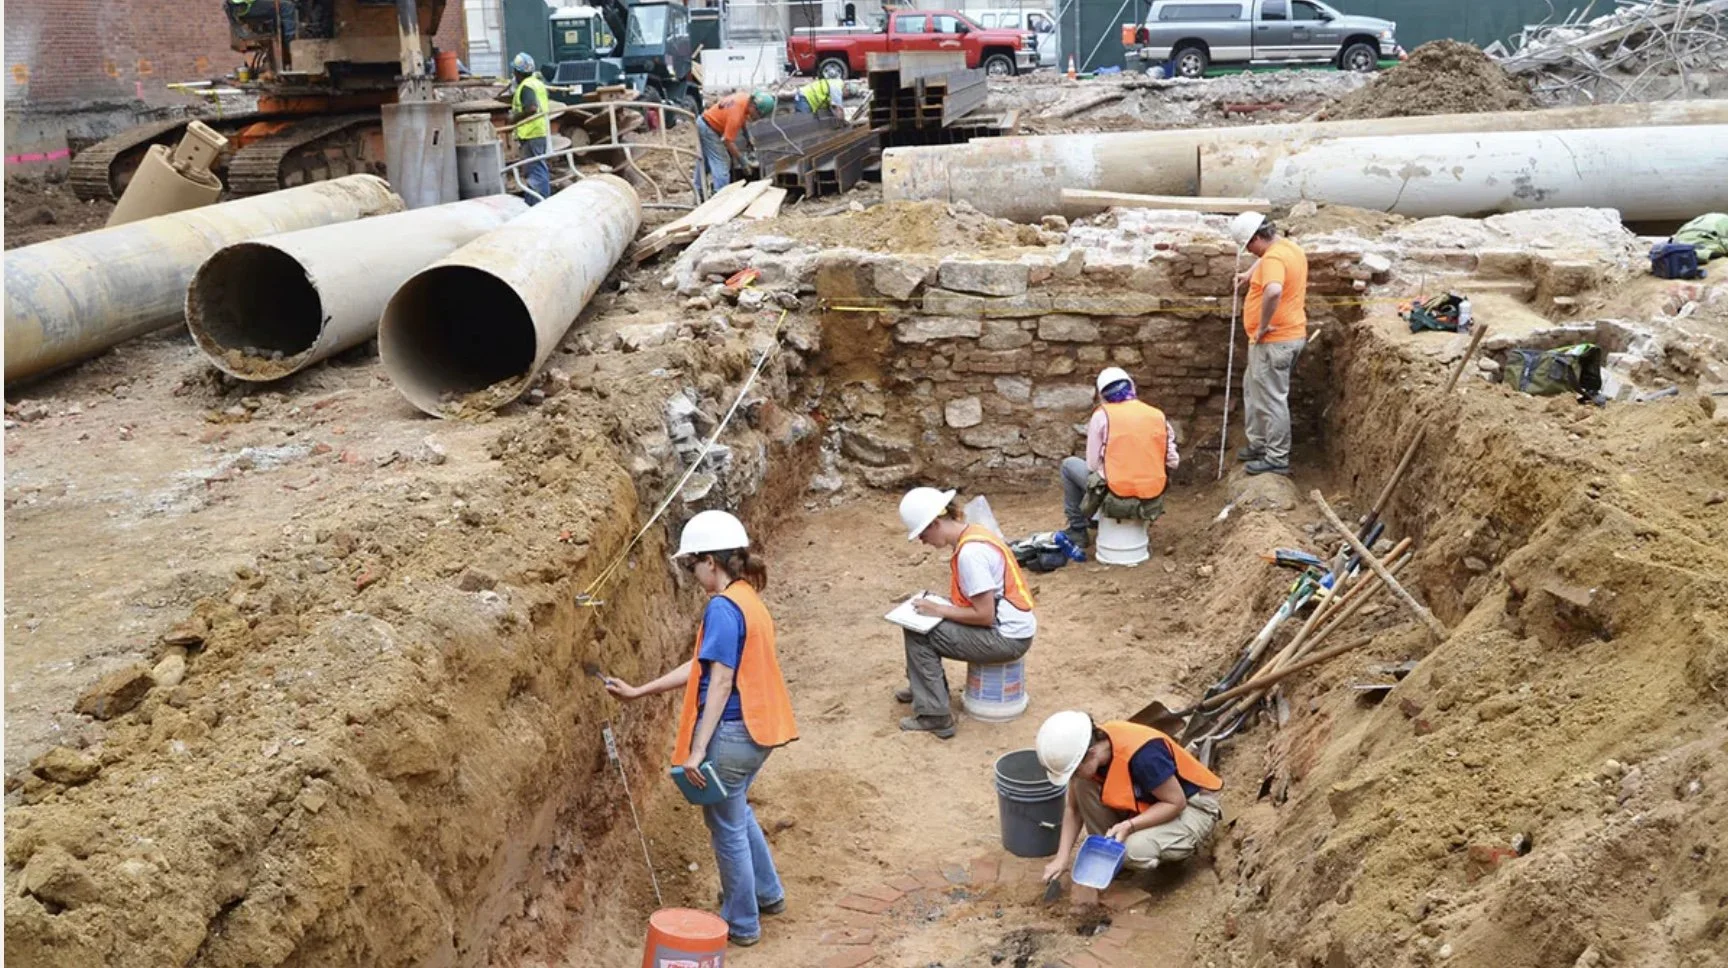
Materials Needed: Excavation equipment (e.g., backhoe), shovels.
What to Be Careful Of: Excavate to the correct depth, considering local building codes and frost lines. The excavation must be uniform to prevent uneven settling.
City Inspection: Inspectors may need to check the depth and dimensions of the excavation before the next phase begins. This ensures the foundation meets structural integrity requirements.
Potential Issues: The city inspector may reject the layout if the dimensions are incorrect or if the excavation does not meet the specified depth.
Step 3: Installing the Formwork
Timeline: 1 week
Set Up Formwork:
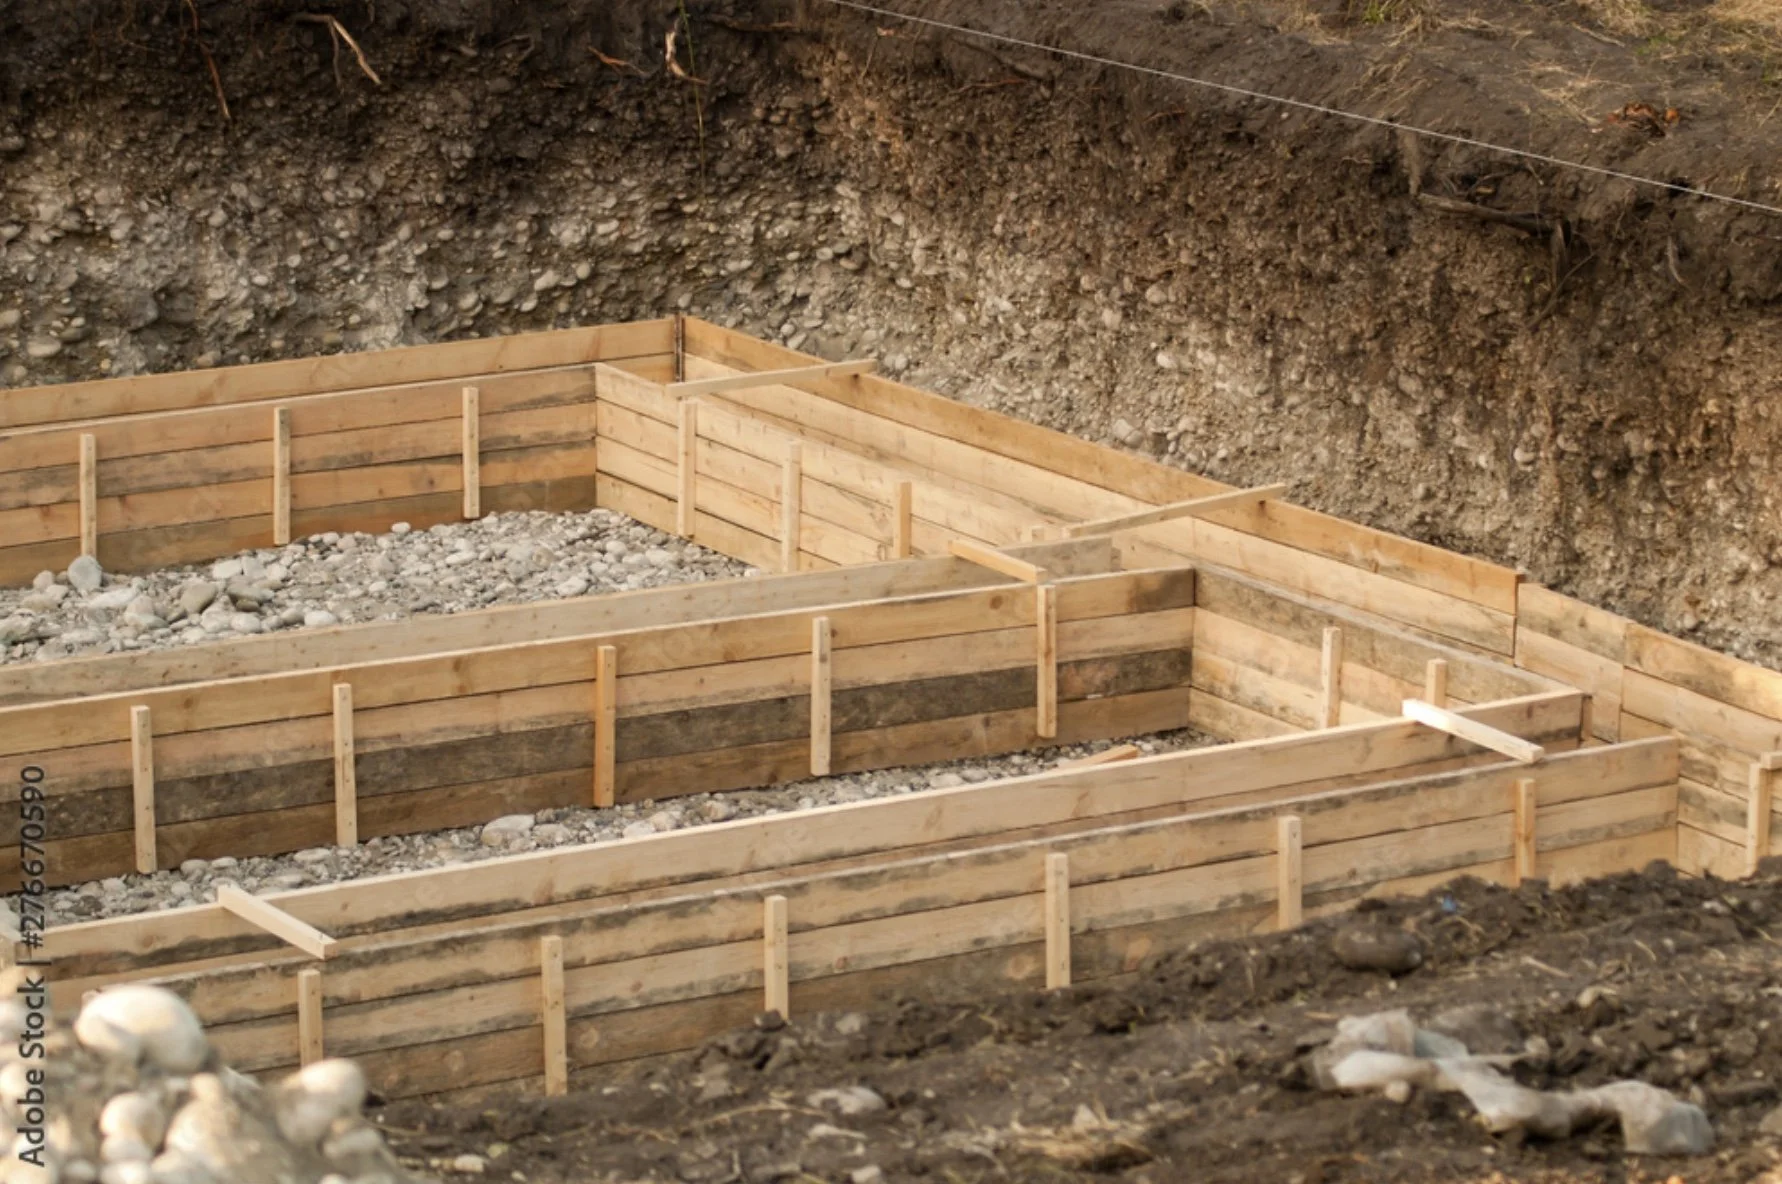
Materials Needed: Wooden boards (typically 2x4 or 2x6), nails, stakes, and screws.
What to Be Careful Of: Ensure the formwork is level and securely fastened to withstand the pressure of the poured concrete. Any movement in the formwork can result in an uneven slab.
City Inspection: Some localities require an inspection of the formwork to verify that it is stable, level, and correctly positioned before pouring concrete.
Potential Issues: If the formwork is not level or secure, the inspector may require adjustments before proceeding.
Step 4: Placing Reinforcements
Timeline: 1-2 days
Install Reinforcing Mesh or Rebar:
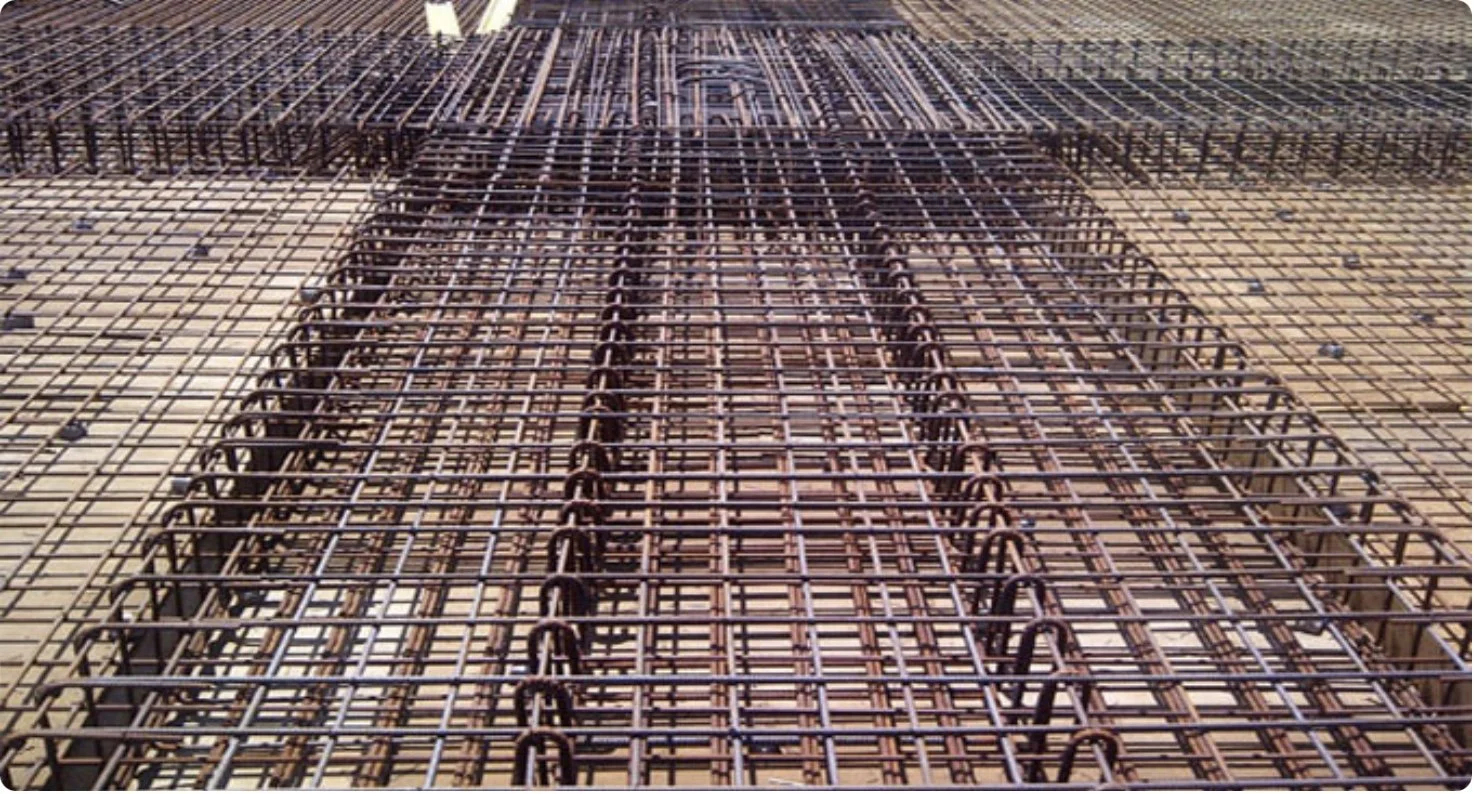
Materials Needed: Steel rebar or wire mesh, rebar chairs (to elevate rebar off the ground).
What to Be Careful Of: Properly position the reinforcements to ensure they are centered within the slab. This prevents cracking and adds structural strength.
City Inspection: The inspector will often check the placement and spacing of the rebar or mesh to ensure it meets building codes and engineering specifications.
Potential Issues: The inspector may reject the reinforcements if they are not adequately supported, spaced, or if they do not meet the required specifications.
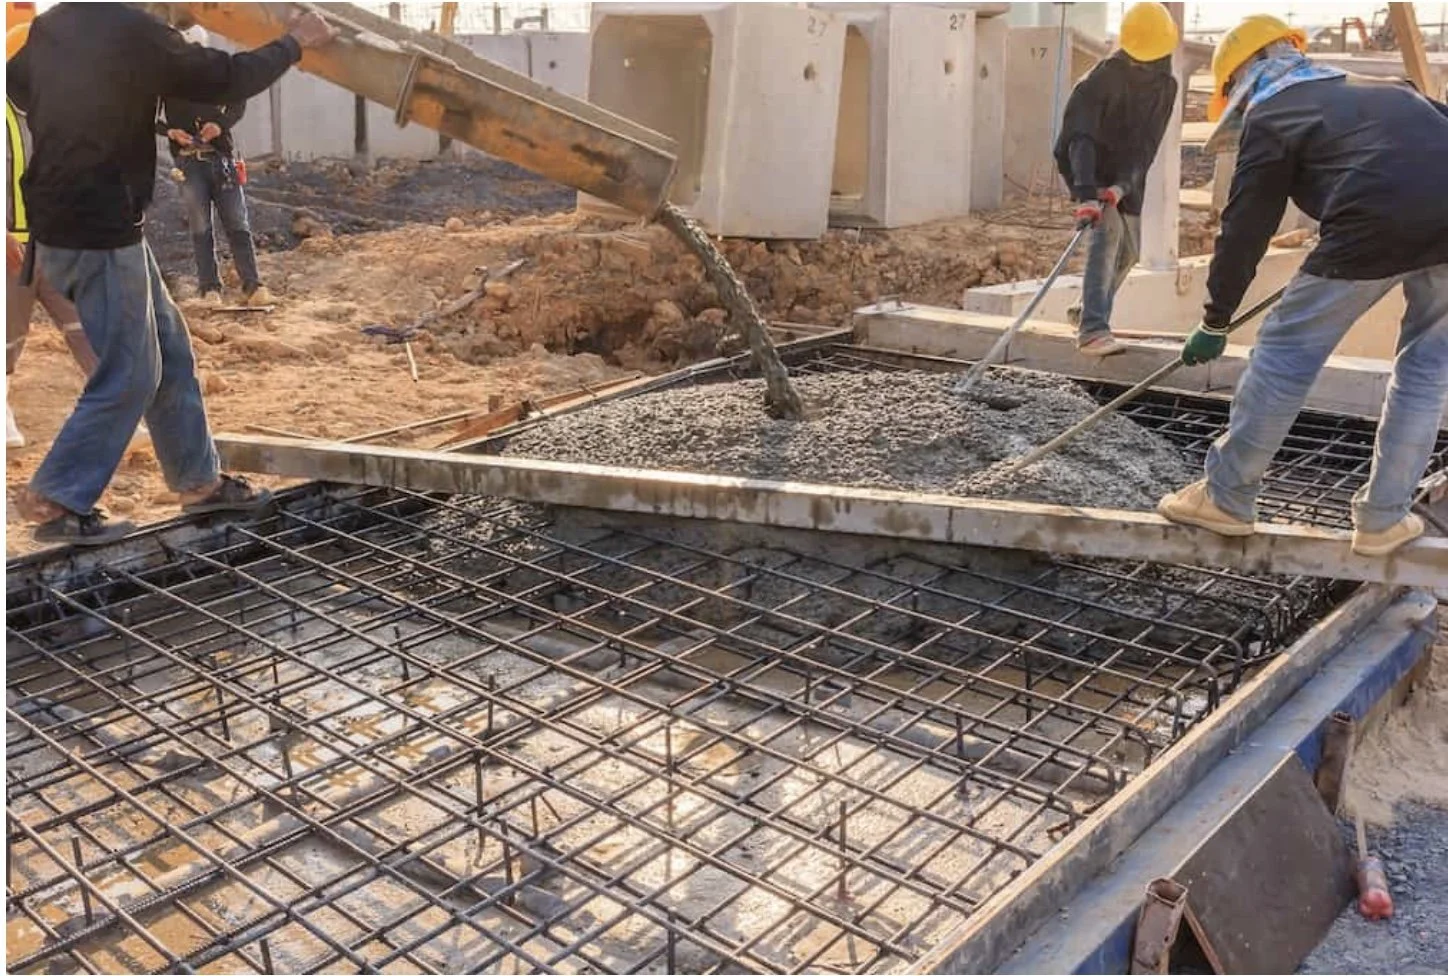
Step 5: Pouring the Concrete
Timeline: 1 day
Pour the Concrete:
Materials Needed: Concrete mix, screed, concrete vibrator (to remove air pockets).
What to Be Careful Of: Pour the concrete evenly and vibrate it to eliminate air pockets, which can weaken the slab. The concrete should fill the entire form without leaving voids.
City Inspection: Typically, inspectors will be present during the pour to ensure it is done correctly and uniformly.
Potential Issues: Inspectors might reject the pour if they observe improper mixing, uneven spreading, or inadequate compaction.
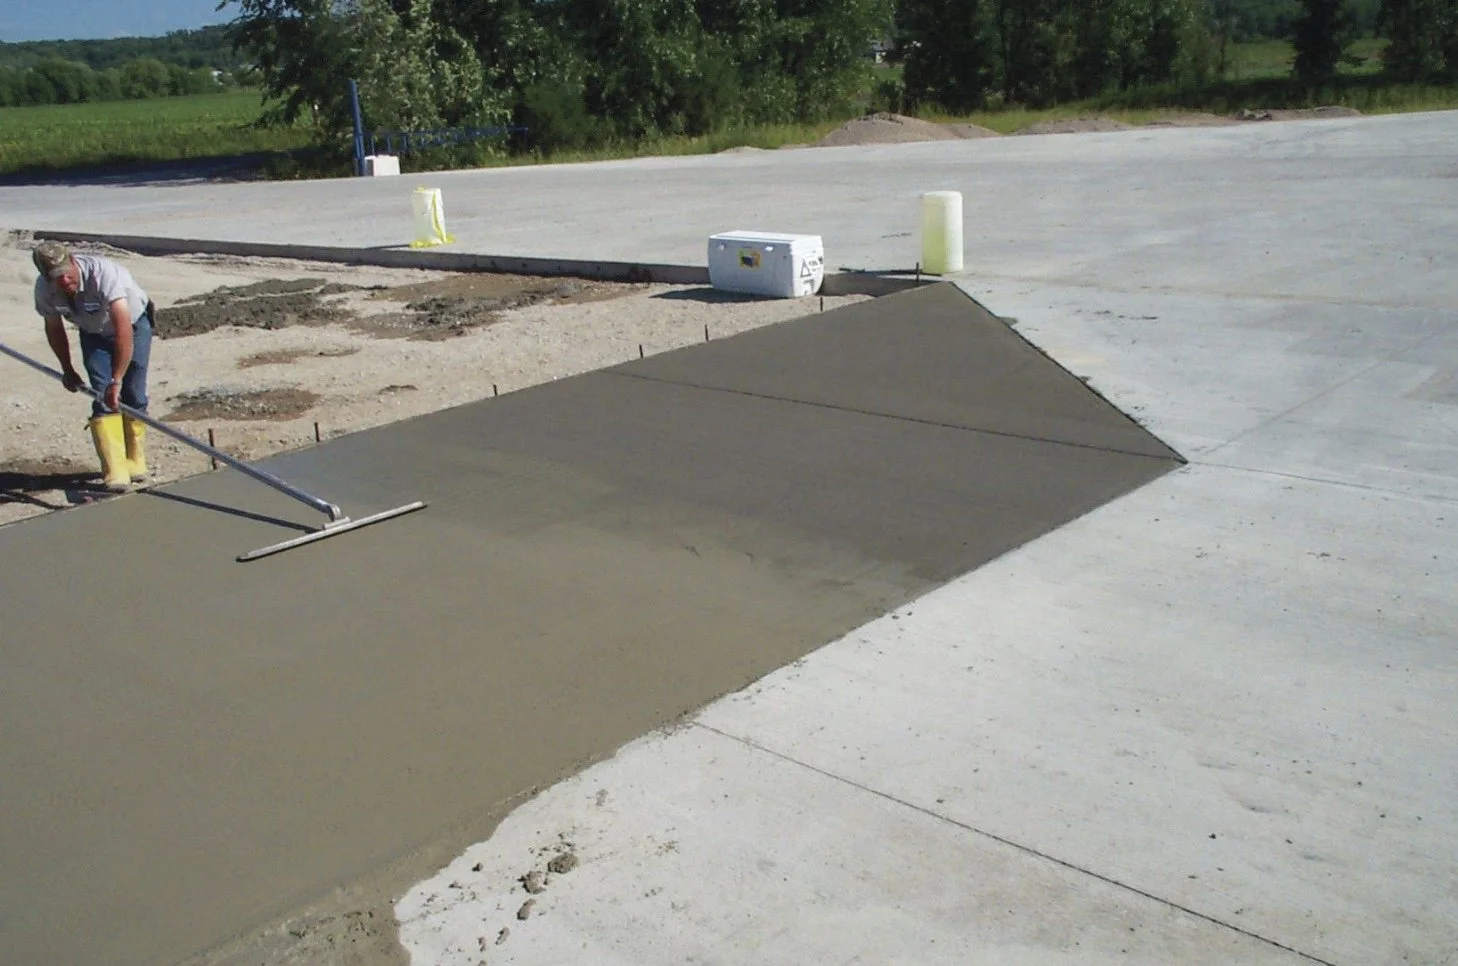
Step 6: Finishing the Surface
Timeline: 1-2 days
Finish the Concrete Surface:
Materials Needed: Trowels, float, broom (for non-slip finish).
What to Be Careful Of: Achieve the desired finish quickly before the concrete begins to set. Ensure the surface is smooth and properly graded for drainage.
City Inspection: In some cases, the inspector may return to check the surface finish, especially if it needs to meet specific safety standards, like a non-slip surface.
Potential Issues: An inspector might require reworking the surface if it is not level or if it doesn’t meet safety requirements.
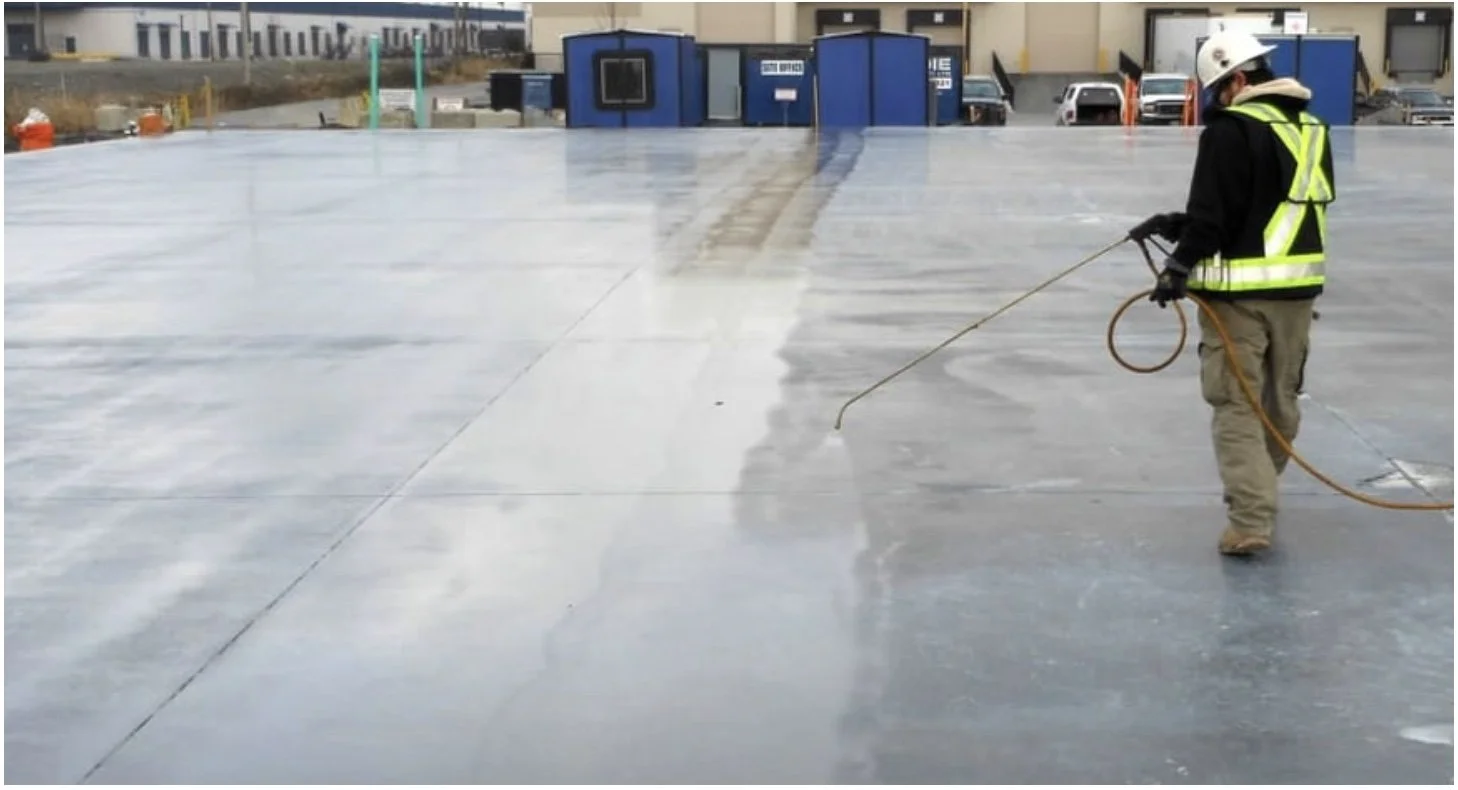
Step 7: Curing the Concrete
Timeline: 7-28 days
Cure the Concrete:
Materials Needed: Plastic sheeting, curing compound, or wet burlap.
What to Be Careful Of: Protect the concrete from drying too quickly, which can cause cracks. Curing helps the slab achieve maximum strength.
City Inspection: Inspectors might check the curing process to ensure the slab is protected and properly curing over time.
Potential Issues: The inspector might flag the curing process if there are signs of premature drying or cracking.
Overall Timeline:
Total Time: 6-12 weeks depending on weather conditions, inspections, and project complexity.
Final Approval:
After curing, a final inspection ensures that the slab meets all structural and safety standards. If any issues are found, the inspector will issue a report detailing necessary corrections. Once all issues are resolved, the inspector will give final approval, allowing you to proceed with further construction.
